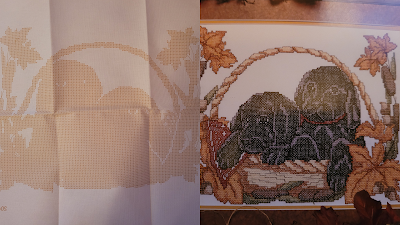
Everything that comes in a stamped cross-stitch kit:
Embroidery floss
Printed instructions
Needle
Fabric (with the design)
Colored picture of the completed design
The basics and tips:
The easiest way to begin your project is to start from the middle and work your way out. The instructions tell you how many strands of each color you need for each part of the project. Basically, you embroider a bunch of small X’s on the fabric. The most efficient way to not lose your place on your project is to mark off on your instructions. You have to be careful not to get the fabric wet or dirty because it will fade the design. However, dampening your floss a bit on the end helps with threading the needle.
On embroidery hoops:
Depending on the size of the project, you might want an embroidery hoop. Hoops make it easier by allowing you to focus on small areas at a time. I also use them because they are better to hold onto than trying to work with everything laid out. Embroidery hoops don't always come with the kit, but you can find them at crafting stores or Amazon.
To use the embroidery hoop, unscrew the top of the hoop. Put the smaller hoop on the underneath side of the project. Then, put the bigger part of the hoop over the front. Snap the smaller and bigger parts together and tighten the top.
As a disabled crafter:
I need help with inserting the embroidery floss in the eye of the needle and separating the floss strands. My hands just don’t cooperate enough.


No comments:
Post a Comment